
Riiight, so liquid/gel liner. Tis a toughy. It takes patience (a lot) and practice :)
The liner I'm using today is Rimmel Glam Eyes. I really like it, but you kind of have to master gel first to then move onto liquid as gel has less slip than liquid. (My favourite gel liner is Inglot no. 77!)
The best way to do liner is by looking down into a mirror!
To start liner, take your brush, make sure all the bristles are in the correct place, you can do this by rolling the brush on your hand in the product.

Place your brush flat in the middle of your top lashes. We do this just in case there's a huge blob of product, it wont end up on your inner corner! With short small stroke begin to edge towards your tear duct. Rest your baby finger on your face for support. If you need to, place your arm down on a table for stability.
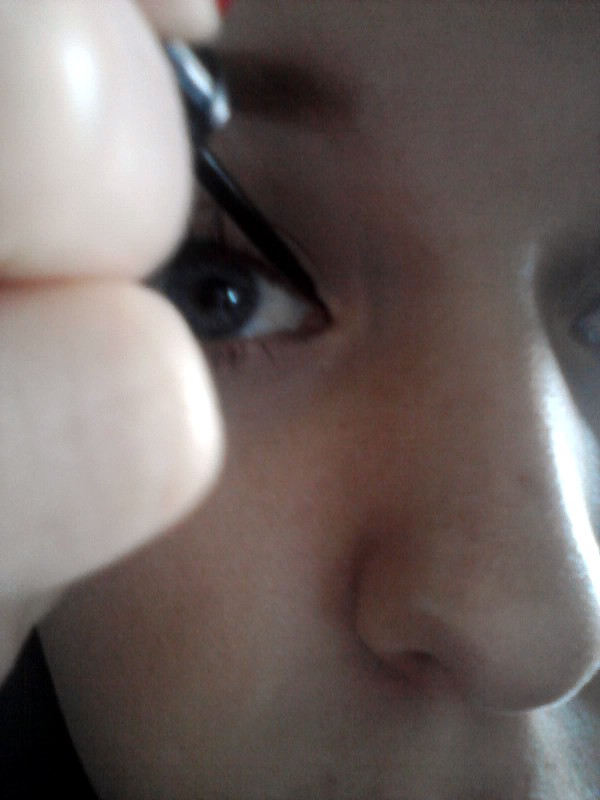
When we get to our tear duct, aim the brush for almost the upper water line (where we would tight line) This will help to keep the liner thin. Again- do this in short strokes.

When we have got the liner in the tear duct, go and do the other eye. Only do 2/3 of the liner. This will keep the lines symmetrical. When we have the lines the same, head towards the flick. Your flick should go between where the top and bottom lashes meet, follow the line on your bottom lash line upwards, this is where the liner should go. Your liner shouldn't hit your socket bone, if it does, its too long.
If you struggle with this part, map it out with some white kohl pencil, this will rub out easily when you have the line prefected!

To actually create the flick, draw a line back in on itself towards the lash line. Leave around 1mm of space at the top for a sleek looking flick. Fill this gap in. and connect the joining line. There shouldn't be too much space left to fill as the top line would have filled some of the gap.

Et viola! Flicked liner!
Hope someone found this helpful. Let me know if you have any tips for liner?
LauraLou
xx
P.S - sorry for the shitty pictures, this was A LOT harder to capture than you'd think!!
No comments:
Post a Comment